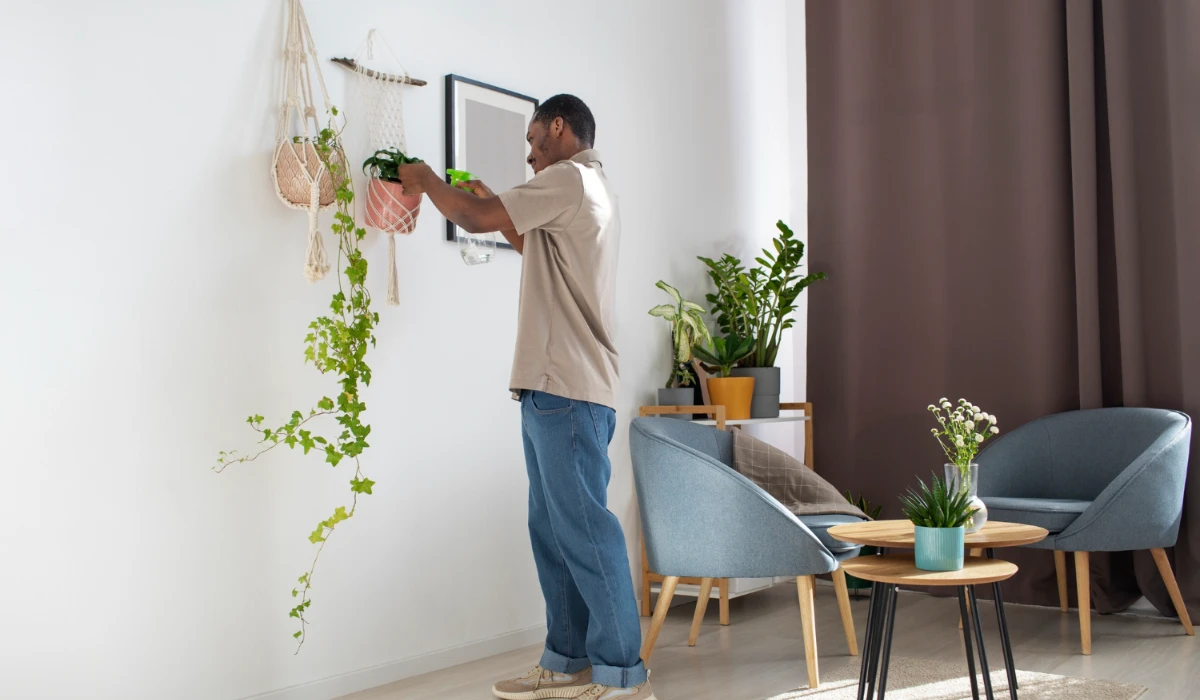
Bathrooms are some of the most used spaces in any commercial building, be it at the airport, malls, offices, or schools.
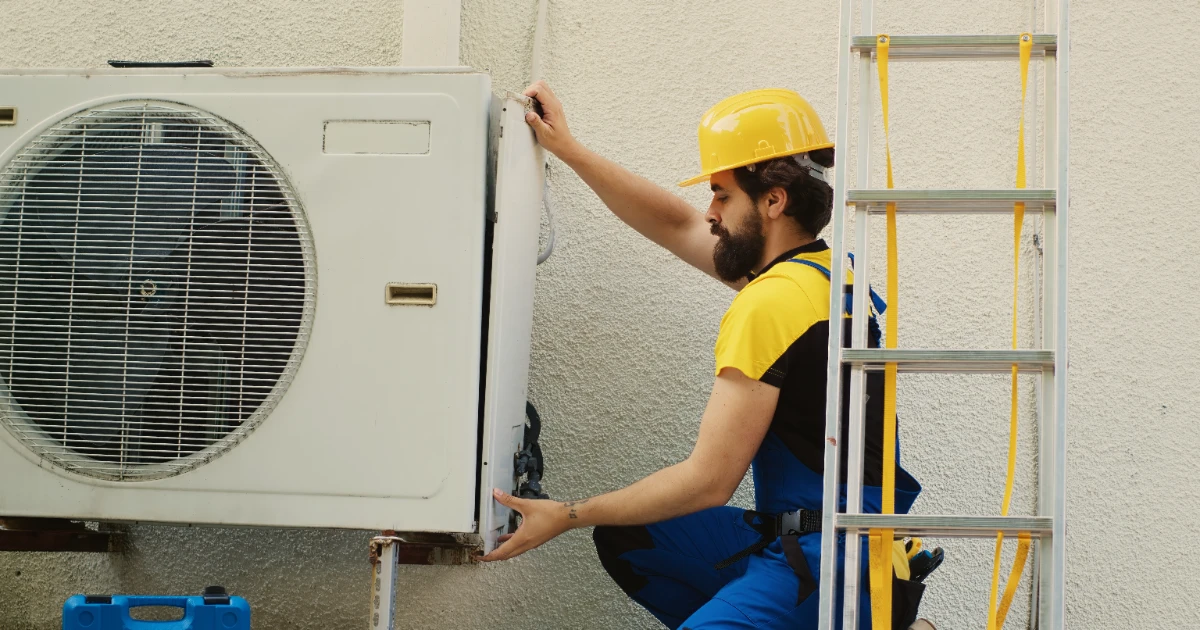
With all the daily activities in these areas, even plumbing lines, electrical systems, and mechanical components behind walls or above ceilings face wear and tear. When maintenance issues arise—and they will—quick access to these utilities is important.
Durable drywall access doors offer a solution. They give maintenance workers a quick way to reach building systems without damaging drywalls or interrupting operations. But, of course, all these can only be enjoyed if they’re properly installed.
Tools and Materials Needed for Installation
Before we learn how to install drywall access doors, let’s first prepare the items to make the process smooth and efficient.
Always remember to also read the manufacturer’s instructions. Every model of access doors and panels has its requirements, such as different cutout dimensions, specific screws or anchors, and finishing processes. Spending even five minutes reviewing their guidelines can save you from a headache later and keep your warranty intact.
But in general, here’s a list of things you’ll need.
Tools:
- Measuring tape
- Level
- Utility knife
- Screwdriver or drill
- Stud finder
- Safety gear, like goggles, gloves, and a dust mask
Materials:
- Drywall access door
- Drywall saw
- Screws
- Anchors (if needed)
- Joint compound
- Sandpaper or sanding block
- Paint
6 Steps To Install Drywall Access Doors
Step 1: Get the Right Model for the Job
Proper installation isn’t enough. You need the right model to ensure it works well in commercial bathrooms. And with that, you should think about the access doors and panels’ materials, finishes, sizes, and features.
So, if you need something strong to resist the constant bumps and hits in busy public restrooms, try drywall access doors made from steel. But if moisture and corrosion are your top concerns, consider stainless steel access doors and panels. Aluminum is another material worth checking out. It’s light and corrosion-resistant, making it ideal for quick installations.
For finishes, powder-coating gives an extra layer of protection and makes cleaning easier. It also helps keep the door looking brand new despite frequent use.
Getting the size right is also important. The access door or panel must be big enough for technicians to use their tools and reach the pipes, wires, controls, and other systems inside. But it shouldn’t be oversized to the point that it becomes distracting inside the commercial bathroom.
Special features and design also affect how access doors and panels work. For example, flush-mounted designs sit level with the wall surface, so there aren’t any bumps or protruding panels. Models with keyed or latch locks, meanwhile, keep unauthorized users out. Lastly, fire-rated access doors help maintain rated walls and ceilings, which is important to meet building codes.
Step 2: Pick the Best Spot To Install the Drywall Access Door
Accidentally cutting into pipes or wires would make this simple installation project expensive. That’s why you need to scout the best location before starting to cut. So, grab a stud finder—and if you have one, a non-contact detector for electrical and plumbing—to map out what’s behind that wall.
Think about what you’re trying to reach. Position the door so maintenance workers have direct access to shut-off valves, cleanouts, junction boxes, or whatever systems need regular attention.
At the same time, avoid areas where cleaning carts, equipment, or heavy foot traffic might damage the access door or panel.
Don’t forget about clearance. The door should be able to swing open fully without hitting sinks, soap dispensers, hand dryers, or other fixtures.
And lastly, think of the height. Keep it accessible to the maintenance team, but not so low that carts or equipment bump into it.
Step 3: Measure and Mark the Opening
As we’ve mentioned before, review the manufacturer’s guidelines. Don’t try to eyeball or make your own measurements; just follow the sizes on the spec sheet. Use a pencil and level to draw the frame, making sure it’s square and at the proper height.
Measure twice—then confirm again—before cutting. After all, it’s much easier to erase pencil marks than to patch a hole that’s too big or in the wrong spot.
If you’re working around tile or other finishing materials, consider how everything will line up once you’re done. The frame must sit flush with your finished surface, so factor in the joint compound, tile, or trim thickness.
If you’re near existing tile work, align your cuts with the grout lines. It’ll save you from making difficult tile cuts later.
Step 4: Cut the Drywall Opening
Start by scoring along the lines you drew using a knife. This little step prevents the drywall from chipping and gives you much cleaner edges. Then use a drywall saw or oscillating tool to make your cuts. Take your time here, since rushing leads to rough edges that are harder to finish later.
Once you’ve cut out the piece, take a peek inside. Sometimes utilities hide in unexpected places, even if your detector didn’t catch them. If you see any wiring or plumbing that you weren’t anticipating, stop what you’re doing and call an electrician or plumber. It’s better to be safe than sorry.
Step 5: Secure the Access Door Frame
Put the access door into the opening and make sure it fits. To connect the frame to the holes, you’ll need to use the screws that came with it. If you can’t find studs, use heavy-duty anchors appropriate for the wall type, or use masonry anchors for block walls.
Tighten screws evenly and from opposite sides to keep the frame from warping. When installing fire-rated doors, use the required fire-resistant materials exactly as directed.
If moisture resistance is needed, put a foam gasket or a thin line of approved sealant between the frame and the walls.
Step 6: Finish the Edges
Tape the joints and then put two to three thin coats of joint compound, sanding each layer for smoothness. Next, apply matching primer and paint, or tile the area following the manufacturer’s installation requirements.
Once everything’s dry, clean up the area and remove any protective coverings. Remember to check the door. Open and close it several times to make sure it works and latches properly. If there’s any binding or misalignment, make small adjustments to the hinge screws or strike plate until everything works perfectly.
To Sum It Up
Drywall access doors are smart additions to any commercial bathroom. But to make the most of them, you must choose the right one and install it properly. When done well, they provide technicians with easy access to plumbing, wiring, and other building features.
These access doors and panels make maintenance tasks quick and easy, helping reduce downtime. They’re important for keeping busy public bathrooms operational.