A comfortable home environment depends on having the right cooling and heating system. One of the most effective solutions for whole-home temperature control is a ducted air conditioning system. Instead of using separate units for different rooms, this system distributes conditioned air through a network of ducts connected to a central unit.
Because the installation involves careful planning, ceiling access, and electrical work, many homeowners rely on professionals who specialise in air conditioning installation Sydney to ensure everything is installed correctly and safely.
Understanding the process helps homeowners prepare for the project. From evaluating the property to testing the system, each step contributes to reliable performance.
What Should Be Considered Before Ducted Air Conditioning Installation in Sydney
Before any equipment is installed, several important factors need to be reviewed. Planning ahead helps ensure the system operates efficiently and suits the layout of the home.
The Home Layout
The first step usually involves examining the structure and size of the house. Installers assess things like ceiling cavity space, insulation, and the number of rooms that require cooling or heating.
During this stage, technicians look at:
● room sizes and ceiling heights
● existing insulation levels
● available roof or floor space for ducting
● potential locations for vents and return air grilles
These details help determine airflow patterns and the system capacity required. Larger homes or multi-storey properties also benefit from zoning. Zoning allows different areas of the house to be controlled independently, which can improve comfort while reducing unnecessary energy use.
The Right System Size
Selecting the right system capacity is very important. A unit that is too small will struggle to maintain comfortable temperatures, especially during extreme weather. On the other hand, an oversized system can lead to wasted energy and uneven cooling. Many homeowners consult with a ducted air conditioning installer who can recommend equipment suited to the property.
Electrical Requirements
A ducted air conditioning system needs a licensed electrician Sydney to handle the electrical installation if the job involves adding a new dedicated circuit, wiring, or upgrading the switchboard.
That said, an electrician is not necessary if the property already has the proper electrical setup. This is the case when an existing ducted system is being replaced with a similar model, or when the home was previously pre-wired for air conditioning.
Because of these requirements, many projects involve an electrician to confirm the system can operate safely with the home’s electrical supply. Once these initial assessments are completed, the installation work can begin.
What’s the Process for Installing Ducted Air Conditioning?
Understanding how to install ducted air conditioning helps explain why professional expertise is needed. The process involves multiple stages that must be handled carefully to ensure the system functions properly.
1. Designing the Duct Layout
The installation process starts with designing the duct network. This layout determines how air will travel from the central unit to each room in the house.
Installers identify the best locations for:
● supply air vents
● return air grilles
● duct pathways through the ceiling or floor
Good placement is important because it affects airflow efficiency and the overall comfort of the home. When ducts are positioned correctly, air can circulate evenly without creating hot or cold spots.
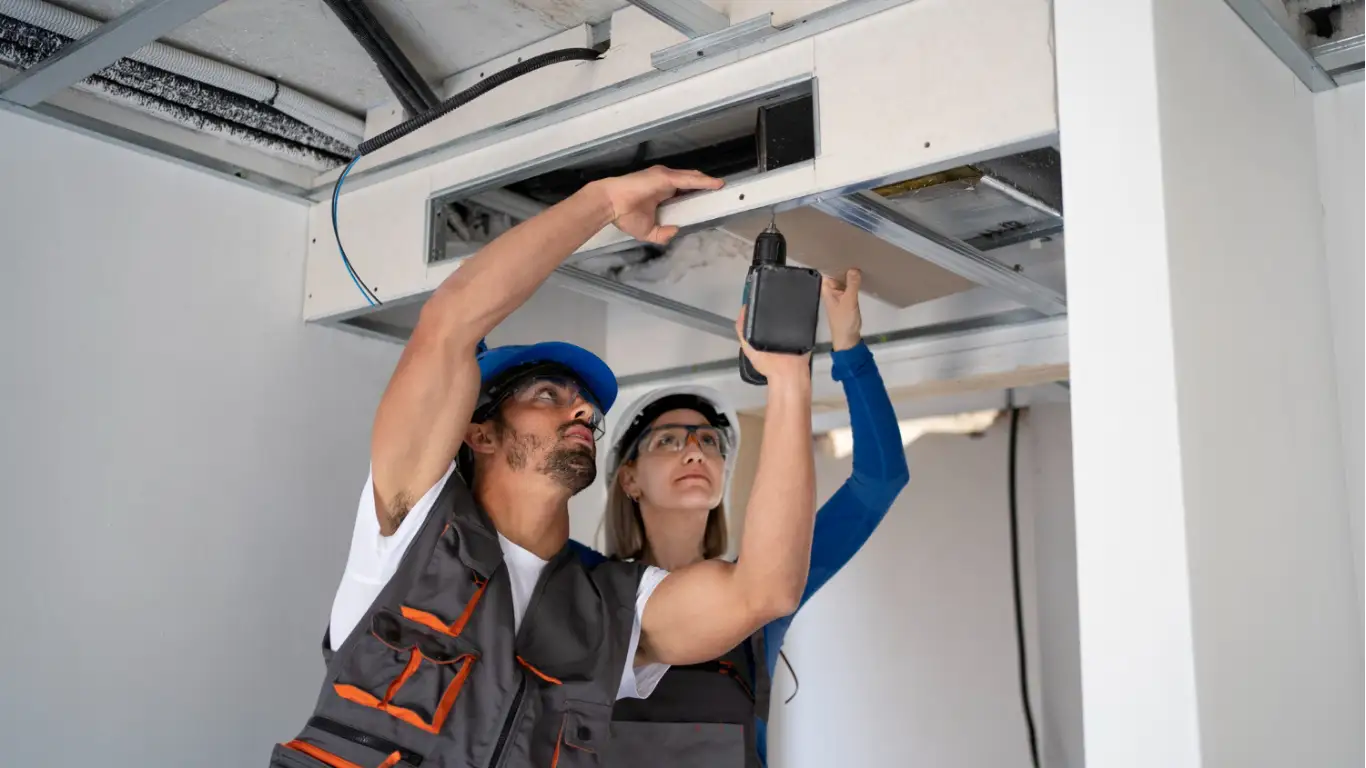
2. Installing the Indoor Unit
The indoor unit, also known as the fan coil unit, is usually placed inside the roof space or ceiling cavity. This component is responsible for distributing conditioned air through the ducts.
To reduce noise and vibration, the unit is mounted on a secure platform or brackets. Installers also leave enough space around the unit so that technicians can access it easily during future servicing.
At this stage, the return air duct is also connected. This duct allows air from inside the home to flow back into the system where it can be cooled or heated again.
3. Installing the Outdoor Compressor
The next step is installing the outdoor compressor. This part of the system releases heat during the cooling process and works together with the indoor unit.
The outdoor unit is usually placed:
● on a concrete slab
● on a stable mounting bracket
● in a well-ventilated outdoor area
Adequate airflow around the unit ensures efficient operation. Technicians then connect refrigerant pipes between the indoor and outdoor units. These lines carry refrigerant, which plays a key role in transferring heat during the cooling or heating process.
4. Installing the Ductwork and Vents
Once the main units are in place, installers begin fitting the duct system throughout the home. Flexible or rigid ducts are connected to the central indoor unit and routed through the ceiling cavity.
Each room receives an air vent or diffuser that distributes conditioned air evenly. To maintain efficiency, installers carefully seal the duct connections. Proper sealing helps prevent air leaks that could reduce system performance.
5. Connecting the Electrical System
After the mechanical components are installed, the electrical system is connected. This stage ensures the unit receives power and that the controls operate properly.
The control system is also installed at this stage. This includes:
● a wall thermostat
● a smart home controller
● zoning control panels
These controls allow homeowners to adjust temperature settings and manage airflow in different areas of the house.
6. System Testing and Commissioning
The final step is testing the system to ensure everything works correctly. During commissioning, technicians check:
● refrigerant levels
● airflow from each vent
● thermostat operation
● zoning functionality
If necessary, adjustments are made so that airflow remains balanced throughout the home. Only after these checks are completed is the installation considered finished.
Why You Need a Professional Ducted Air Conditioning Installer
Installing a ducted air conditioning system involves much more than simply connecting equipment. Poor installation can lead to inefficient cooling, higher energy costs, and even safety concerns.
Working with a qualified ducted air conditioning installer provides several advantages:
● proper system sizing and design
● correct duct placement for better airflow
● safe handling of refrigerant lines
● compliance with electrical and safety standards
Professional installers also provide warranties and after-installation support, which gives homeowners additional peace of mind.
How Long Does Installation Usually Take?
The installation timeline can vary depending on the size and layout of the home. In many cases, a standard residential installation can be completed within one to two days. Larger homes or complex duct layouts require additional time.
Other factors that affect the schedule include:
● roof access conditions
● the need for electrical upgrades
● additional zoning features
Conclusion
A ducted air conditioning system is one of the most effective ways to maintain consistent comfort throughout a home. However, the installation process involves several technical steps, from planning the duct layout to connecting electrical components and testing the final system.
By understanding the stages involved, homeowners can better appreciate the complexity of the work and the value of professional installation. When installed correctly, a ducted system can provide reliable cooling, improved energy efficiency, and year-round comfort for the entire household.