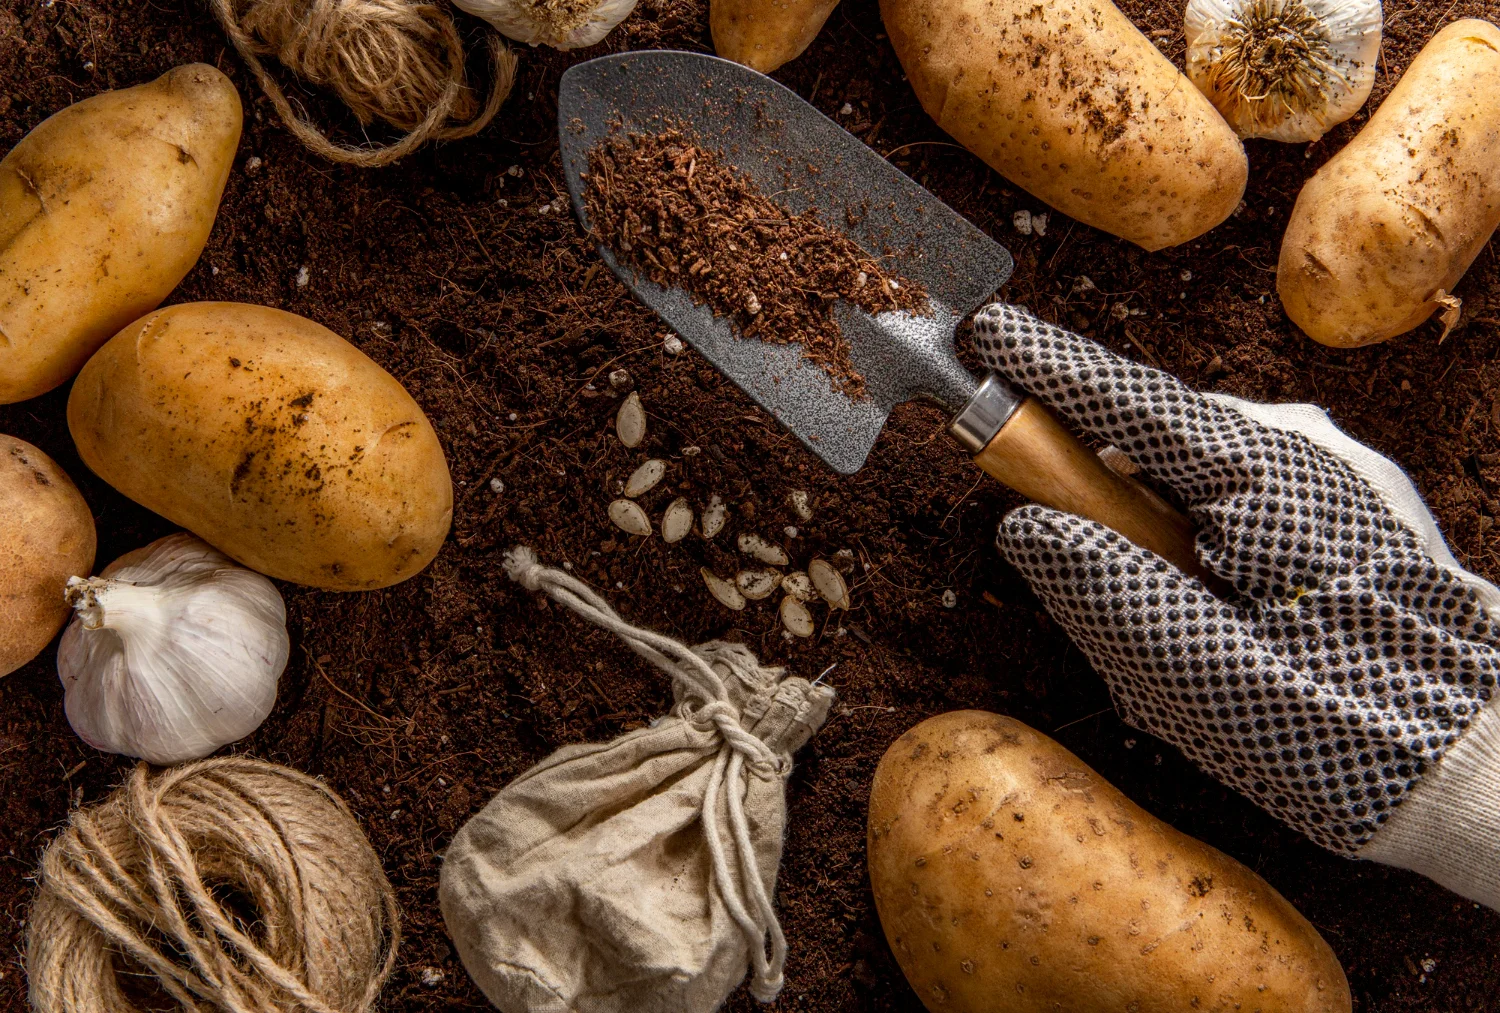
Growing potatoes in bags is one of the most productive, space-efficient gardening methods available. Whether you are dealing with heavy clay soil, a compact balcony, or simply want to avoid the backbreaking labor of digging up an in-ground bed, grow bags offer an ideal environment for Solanum tuberosum.
Because fabric bags encourage air-pruning of roots and shed excess water naturally, they reduce the risk of compaction and tuber rot. However, container-grown potatoes have specific moisture, nutrient, and temperature requirements that differ significantly from trench-planted crops. This guide walks you through every stage—from selecting the right seed stock to harvesting and curing your final yield.
Why Grow Potatoes in Bags?
Before filling your first container, it helps to understand how a grow bag interacts with a potato plant’s root system compared to traditional ground beds or rigid plastic buckets.
Breathability, Drainage, and Root Pruning
Standard plastic pots or plastic tubs often trap standing water at the bottom, creating anaerobic zones that invite bacterial soft rot and late blight. Heavy-duty non-woven fabric grow bags allow oxygen to permeate the soil from all directions.
When a root tip reaches the dry, breathable edge of a fabric bag, it experiences “air pruning.” Instead of circling the container wall and becoming root-bound, the tip naturally terminates, triggering the plant to generate a dense, fibrous network of feeder roots. A larger, non-bound root mass allows the plant to take up water and nutrients far more efficiently, directly supporting tuber initiation.
Space Efficiency vs. Watering Demands
The primary trade-off with fabric bags is moisture evaporation. Because the sides are porous, water evaporates from the container walls as well as the surface. On warm, breezy days, a potato bag will dry out significantly faster than garden soil. Gardeners must be prepared to monitor moisture levels closely during the peak heat of summer.
Choosing the Right Setup
Getting your baseline materials right prevents the vast majority of container potato failures.
1. Bag Selection: Material, Sizing, and Drainage
- Material: Opt for non-woven polypropylene fabric bags (typically 250 to 300 GSM) with reinforced handles. If using plastic potato bags or upcycled feed sacks, you must manually puncture 10 to 15 drainage holes through the base and lower 2 inches of the sidewalls.
- Volume: Container volume dictates yield. Use the sizing guide below to determine your planting density:
| Bag Size (Gallons / Liters) | Number of Seed Potatoes | Best Suited Potato Type | Minimum Depth |
| 7 Gallons (26 L) | 2 seed potatoes | Early / Determinate | 12 inches (30 cm) |
| 10 Gallons (38 L) | 3 to 4 seed potatoes | Early or Mid-Season | 14–16 inches (35–40 cm) |
| 15 Gallons (57 L) | 4 to 5 seed potatoes | Mid or Late / Indeterminate | 16–18 inches (40–45 cm) |
| 20 Gallons (75 L) | 5 to 6 seed potatoes | Late-Season Indeterminate | 18+ inches (45+ cm) |
Pro Tip: For beginners, a 10-gallon bag is the sweet spot. It provides enough soil volume to buffer against rapid drying out while remaining light enough to reposition if needed.
2. Determinate vs. Indeterminate: Which Works Best?
Potatoes fall into two structural categories:
- Determinate Varieties (Early season): These plants grow in a single layer, producing tubers in a concentrated cluster just above the seed piece. They mature quickly (70–90 days) and do not require extensive upward hilling. Examples: Yukon Gold, Red Norland, Chieftain.
- Indeterminate Varieties (Mid-to-late season): These grow taller and continue producing tubers along the buried underground stem as long as you add soil. They thrive in deeper bags (15–20 gallons) and deliver higher yields over a longer growing period (100–120+ days). Examples: Russet Burbank, German Butterball, Kennebec.
If you have a standard 12-inch-deep bag, determinate varieties yield more reliably. If you have deep, 18-to-24-inch bags and want maximum bulk yield, choose indeterminate types.
3. The Ideal Potting Mix (Why Garden Soil Fails in Bags)
Never fill grow bags with standard topsoil or native backyard dirt. Garden soil packs down tightly in containers, choking off oxygen, draining poorly, and carrying soil-borne fungal spores (Verticillium wilt, Fusarium, and scab).
Use a loose, well-aerated, soilless potting blend engineered for containers:
- 40% High-quality peat moss or coco coir (moisture retention)
- 40% Well-aged compost or composted bark (biological activity and base nutrients)
- 20% Perlite or coarse vermiculite (aeration and internal drainage)
- Optional: Add a moderate handful of balanced, organic slow-release vegetable fertilizer (e.g., 5-5-5 or 4-6-6) blended evenly throughout the mix.
Potatoes prefer a slightly acidic to neutral pH between 5.5 and 6.5. Soil that is too alkaline (above 7.0) significantly increases the occurrence of potato scab (Streptomyces scabies).
Step 1: Preparing Your Seed Potatoes
Always start with certified disease-free seed potatoes. Supermarket potatoes are often treated with chlorpropham or other sprout inhibitors to prolong shelf life, and they frequently carry latent virus strains that can decimate your yield.
- Chitting (Pre-sprouting): Set your seed potatoes in an open egg carton or shallow tray with the side containing the most “eyes” facing upward. Place them in a cool room with ample indirect sunlight. Over 2 to 3 weeks, they will sprout thick, dark green or purple nubs. Avoid planting weak, white, leggy sprouts grown in total darkness.
- Cutting Large Seed Tubers: If your seed potatoes are the size of a chicken egg (1.5–2 oz) or smaller, plant them whole. If they are larger, cut them into chunks, ensuring each piece contains at least two strong eyes.
- Callusing (Curing the Cut): Allow freshly cut potato pieces to sit at room temperature for 24 to 48 hours before planting. This allows the exposed surface to form a tough, protective callus layer, preventing soil microbes from rotting the seed piece after planting.
Step 2: Initial Planting and Depth Guidelines
Plant outdoors 2 to 3 weeks before your region’s average last spring frost date, provided the soil medium has reached at least 45°F to 50°F (7°C to 10°C).
- Prepare the Bag: If your grow bag is tall, roll the top fabric edges down to the outside like a cuff. This prevents the tall fabric walls from shading the young sprouts from critical early-spring sunlight.
- Add Base Soil: Fill the bottom of the bag with 4 to 6 inches (10–15 cm) of your prepared potting mix. Lightly tamp it down to remove large air pockets, but do not compress it.
- Place the Tubers: Lay your seed potatoes on top of the soil layer, spacing them roughly 5 to 7 inches apart with the sprouts pointing upward. Keep them at least 2 inches away from the exterior fabric walls.
- Cover: Cover the seed potatoes with 3 to 4 inches (7–10 cm) of additional potting mix.
- Water In: Water thoroughly until moisture drains freely from the bottom of the bag. Place the container in a location that receives full sun (minimum 6–8 hours daily).
Step 3: The Hilling Process in Containers
“Hilling” (or earthing up) is the practice of mounding soil around growing potato stems. New tubers grow from underground horizontal stems called stolons, which emerge above the seed potato. Hilling serves two essential purposes: it forces the plant to produce more stolons (especially in indeterminate types), and it shields developing tubers from light.
Caution: When exposed to sunlight, potato tubers synthesize chlorophyll alongside solanine, a toxic, bitter glycoalkaloid. Always keep tubers fully covered.
- When to Stop Hilling: Stop once the soil level reaches approximately 2 inches below the top rim of the grow bag. Leaving that 2-inch gap allows you to water effectively without soil washing over the sides.
- What Material to Use for Hilling: You can use your primary potting mix, a 50/50 blend of compost and straw, or pure clean straw. A compost-rich mix provides ongoing nutrition, while straw keeps the upper layer light and easy to sort through at harvest.
Step 4: Watering and Nutrient Management
Proper water and nutrient regulation in containers determines whether you get dense, full-sized tubers or small, cracked, hollow ones.
Moisture Control in Breathable Fabric
Inconsistent watering is the primary cause of misshapen potatoes (knobby, cracked, or hollow heart).
- The Moisture Target: The potting mix should feel like a wrung-out sponge—consistently damp to the touch, but never swampy.
- Testing Moisture: Push your finger 2 to 3 inches into the soil along the inside perimeter of the bag. If it feels dry, water deeply. Avoid sticking garden trowels blindly into the center of the bag, which can slice through developing tubers.
- Watering Frequency: During early spring, watering once or twice a week is usually sufficient. In mid-summer, when the foliage is large and ambient temperatures rise, 10-gallon fabric bags may require daily watering. Always water at the base of the plant to keep the foliage dry and deter foliage blights.
Fertilizer Strategy
Potatoes are heavy feeders, but containerized plants can easily be burned or misdirected by the wrong nutrients.
- Nitrogen (N): Vital during the first 4 to 6 weeks to build vigorous leafy stems. However, excessive nitrogen after week 6 promotes massive, lush green leaves at the expense of tuber development, resulting in disappointing yields.
- Phosphorus (P) and Potassium (K): Critical for root vigor, stolon setting, cell wall thickness, and starch accumulation inside the tubers.
- Feeding Schedule: Feed every 2 to 3 weeks with a low-nitrogen, high-phosphorus/potassium liquid organic fertilizer (such as liquid bone meal and kelp meal, or a 3-5-6 organic vegetable formulation) once hilling is complete and flowering begins.
Step 5: Sunlight, Temperature, and Placement
- Sunlight: Potatoes demand full sun—at least 6 to 8 hours of direct, unfiltered light daily. Insufficient sun produces leggy, weak stems that collapse easily and fail to power tuber growth.
- Soil Temperature Dynamics: The ideal root-zone temperature for tuber initiation is 60°F to 70°F (15°C to 21°C). When soil temperatures climb past 80°F to 85°F (27°C to 29°C), potato plants largely stop setting new tubers and focus purely on foliage maintenance.
- Heat Mitigation: If you garden in a hot summer climate:
- Choose lighter-colored fabric bags (tan or grey) rather than solid black to reflect radiant heat.
- Mulch the soil surface with 2 inches of clean straw.
- Place bags on bare earth or wooden decking rather than heat-absorbing concrete or asphalt.
Step 6: Harvesting and Curing Your Crop
Harvesting grow-bag potatoes is significantly cleaner and faster than fork-digging in a field, with zero risk of piercing tubers with a garden fork.
1. Harvesting “New” Potatoes
Roughly 7 to 8 weeks after planting (often coinciding with flowering), the plant has formed small, delicate new potatoes. Reach your hand carefully down into the loose soil near the side of the bag and gently twist off a few marble-to-golf-ball-sized tubers, leaving the main root structure intact to keep growing.
2. The Final Storage Harvest
For mature storage potatoes:
- Monitor the Die-Back: As the season concludes, the foliage will yellow, droop, and eventually turn brown and dry. This is normal; the plant is moving its final carbohydrates into the underground tubers.
- Cut Water: When the foliage begins collapsing, stop watering entirely. Dry soil encourages the skins to set and prevents harvest rot.
- Wait 10 to 14 Days: Leave the tubers buried in the dry soil for two weeks after the vines have died back. This waiting period allows the potato skins to thicken and mature.
- The Dump Method: Lay a tarp on the ground, tip the grow bag onto its side, and slide the root ball out. Sift through the loose mix with your hands to collect every potato.
3. Curing for Long-Term Storage
- Do Not Wash: Brush off loose soil gently with your hands or a soft brush. Never wash potatoes destined for storage; residual moisture invites bacterial and fungal decay.
- Cure: Spread the unwashed potatoes in a single layer in a dark, humid, well-ventilated space kept at 55°F to 60°F (13°C to 15°C) for 10 to 14 days. Curing heals minor cuts, thickens the periderm (skin), and extends storage life.
- Store: After curing, store in burlap bags, paper sacks, or cardboard boxes in a dark, cool space (40°F to 45°F / 4°C to 7°C) with moderate humidity. Keep them well separated from ripening apples or onions, which emit ethylene gas that accelerates sprouting.
Troubleshooting Common Grow Bag Potato Problems
| Symptom / Observation | Probable Cause | Corrective Action |
| Green skin on harvested tubers | Sun exposure during growth | Keep tubers buried under at least 3 inches of soil or straw. Discard or trim heavily greened areas before cooking; do not eat bitter flesh. |
| Lush, 4-foot green vines, but tiny or no tubers | Excessive nitrogen; high heat | Switch to high-potassium/phosphorus fertilizer. Move bags to an area protected from extreme afternoon heat if soil exceeds 85°F. |
| Cracked, split, or hollow-centered potatoes | Inconsistent watering cycles | Maintain consistent soil moisture. Do not let bags dry out completely and then flood them with water; mulch with straw to moderate swings. |
| Rough, corky patches on potato skin | Common Scab (Streptomyces scabies) | Maintain potting mix pH below 6.5. Avoid adding fresh wood ash or uncomposted manure to container mixes. |
| Stems and leaves curling with yellow margins | Dry root zone or spider mites | Check soil moisture deeply at the bag base. Check undersides of leaves for webbing. Fabric pots dry from the outside inward. |
| Rotten, foul-smelling tubers at bag bottom | Clogged drainage or waterlogging | Ensure drainage holes are unblocked. Elevate bags slightly on pot feet, wooden slats, or gravel rather than letting them sit in puddles. |
Frequently Asked Questions
Can I reuse the potting soil from my potato bags next year?
It is safest not to reuse old potato soil for nightshade crops (Solanaceae family, including tomatoes, peppers, eggplants, and potatoes). Soil-borne pathogens like Verticillium and blight spores can overwinter in container media. You can, however, amend and repurpose this soil for non-nightshade plants such as lettuces, beans, peas, or decorative annual flowers.
How many potatoes can I realistically expect from one grow bag?
Yield depends on bag volume, sunlight, and potato variety. On average, a well-tended 10-gallon bag planted with 3 seed potatoes yields between 7 to 12 pounds (3 to 5.5 kg) of healthy tubers.
Do I have to wait for the potato plant to flower before harvesting?
No. While many potato varieties flower right around the time tubers begin swelling, some varieties flower sparsely or drop their buds early without blooming at all. Use the calendar (days to maturity) and the natural yellowing and dieback of the foliage as your primary harvest indicators rather than relying solely on blossoms.
Can I grow potatoes in bags indoors?
Potatoes need intense light (at least 6–8 hours of strong direct sun or 14–16 hours under high-output LED grow lights) to generate sufficient carbohydrates for tuber production. While technically possible under commercial-grade grow lights, potatoes are far more productive and practical to grow outdoors on balconies, patios, or garden borders.